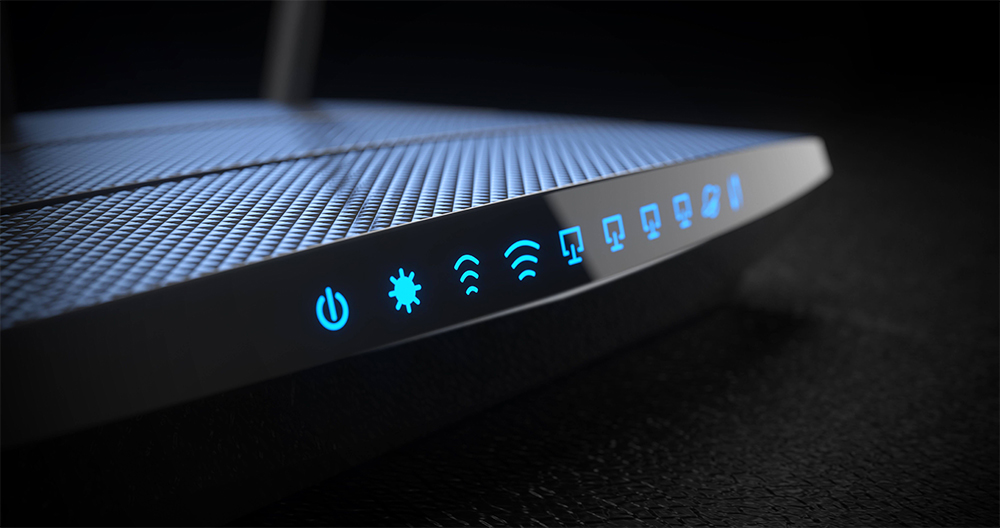
Why it is important to update your router – blog
Your wi-fi router is like a gate, it protects all your devices from outside threats. After a while though, we need to “repair” the gate, or update it. The firmware in routers need to be updated every few years to ensure the connectivity, security and speed of your network are always at their best. This article explores the reasons for updating your tech and offers step by step instructions to make it happen.
WHY UPDATE YOUR ROUTER?
Security
The firmware on your router controls your operating system which is why router manufacturers release updates on a regular basis. If they discover a vulnerability in the current firmware, they repair it and release an update. If there’s a bug or any fault, they correct it and release another update.SPEED AND OTHER FEATURES
Router manufacturers also add new features and improvements to the router, such as parental control settings and other upgrades. They also improve speed to match the high standards of your internet provider. It would be silly to pay for highspeed internet and then never update your router so it can’t keep up and your stuck with older tech and slower speeds.CONNECTIVITY
The older the router, the more likely you’ll find dead zones in your house…. areas where wifi doesn’t reach. Updating your firmware improves connectivity, so your devices can connect throughout the house, and hopefully into your backyard as well.
HOW TO UPDATE YOUR ROUTER
It’s important to note that some newer smart routers automatically update their firmware on their own. If your router is less than a couple years old and you’re not sure if it does that, you can open the app for your router, check the update log and see when the last update was installed.
If your router doesn’t self-update, follow these steps:
- Connect your laptop to your router.
- Type in your IP address into the address bar. If you’re not sure of your IP (Internet Protocol) address:
- In Windows open the command prompt and type “ipconfig” and press enter. You’ll see a long number (with decimals in it) next to the “default gateway”. That’s your IP.
- In Mac’s, click “system preferences” and “network”. In the bottom right corner click “advanced”, “TCP/IP” then you’ll see a number next to “router”, that’s your IP.
- Check your router to find out who the manufacturer is, and log into their website. Many routers have the log in information on the physical router itself or in the manual. If you’re unable to find it you’ll just need to reset your router to log in under the default.
- Every routers website will be different, but most have a menu option that say, “Firmware Update”. Click and follow through the download process, you’ll probably end up with a ZIP file (a compressed folder containing more files inside).
- Extract, or double clip on the zip file to see the files inside. It’s likely the file will be called or have the word “update” in the name. If you’re not sure, check out the file size; the update will be the largest file included in the ZIP.
- Simply double clip on the update and wait for the process to finish. Be sure to keep your computer open and the router plugged in during this time… it should only be a few minutes.
- If necessary, you may need to reboot the router once the firmware has been installed. Sometimes your router does it automatically, but if it doesn’t, refer to the manufacturers official website to learn more about the process. It’s easy to actually reboot it, you just look for a tiny “reset” button on the back and press down on it for 10 seconds. The lights on your router will turn off and on again. The problem is that manually resetting the router this way could cause some settings to change, including changing your wifi name. That’s why we like to recommend you save resetting the router as a last resort.
If you decide to update your router, but don’t want to download from your manufacturers official site, that’s ok, however, be sure to run a virus check on the download before you open the folder to ensure there’s no viruses or malware.


